Thursday, March 8, 2012

These are a few of my favorite things.

These are a few things that make my heart happy, my face smile, and my bad days good.


Britt Nicole-
She is truly inspiring and so talented. Her newest album "Gold" comes out March 26th!! I am pumped!
 One Tree Hill-
I have been re watching this entire series and I'm in love all over again.


Earrings-
These are only half of my earring collection.
I love all different kinds, as you can see.


Girl Scout Cookies----Yum!!
Nutella----Good on anything, no really.
Apple Juice---This love relationship started in college.
Gummies---Veggie tale and Scooby Doo are my favorite! Nothing compares. Nothing.
Pomegranate Tea----Has delicious written all over it.


Shoes---My mom always teases me that I have entirely way too many shoes. The way I see it is that I only buy them if they are cheap so I'm not wasting money....really. :)


Nail Polish---
I have any and every color you could ever think of. I even have them color coordinated.


What are some of your favorite things???

Ab

Sunday, March 4, 2012

Chevron Inspired Nails

Anyone who knows me, knows I have a slight unhealthy obsession (if you will) with nail polish. I don't know what it is about creating something on my nails that intrigues and excites me- but it always makes any day brighter. I enjoy painting my nails, and others too. In college, our suite would be lounging around watching movies all day and I'd be on the floor painting nails and toenails (gross right??) :P.


These are my Chevron inspired nails-----------


I used Sally Hansen Pacific Blue as the base color. 
L.A. Colors Art Deco White to draw the pattern.
And to top it off Sally Hansen Invisible.


Ab

Tuesday, February 28, 2012

Corkboard makeover

I have had this cork board for a long time, and it has been screaming makeover for a long time. I had some left over fabric that I absolutely adore from making these curtains.

Materials:
Cork board
hot glue gun
fabric


1.Lay out your fabric around board.

2. Cut fabric to fit board. (FYI: That is not gum on the board, its that tacky stuff you hang pictures to walls with-it wouldn't come off!!)

3. Use your hot glue to adhere the fabric to the board.

FINAL PRODUCT:


"Psalm 40:16"
Ab

Sunday, February 19, 2012

Birthday books

If you never read this book as a child, or had a parent read it to you-DO IT NOW. It is one of the sweetest books I can remember, really the only one I can remember clearly reading as a child. My mom and I would curl up into bed for a bedtime story and most every time I would want to read this book. A few weeks before my Birthday I was talking to my mom and asking if she remembered what happened to it and we figured out it got ruined with some of my other childhood memories in my closet that the ceiling fell in due to water damage. Well it was one of those moments I like to call a "God thing" when she said she was walking through the store and it almost literally jumped off the shelf at her-and she knew she was meant to get it. I opened it the night of my Birthday and cried for the first time ever because of a gift. I'll keep this book forever and even when my mommy is gone I'll be able to remember 
"I'll love you forever
I'll like you for always
As long as I'm living
My baby you'll be"


I also got a new Bible from my mom for my birthday. My old Bible is obviously the one on the left. I have loved that thing, but it's time for a new one. I'll never get rid of that Bible because it has various highlights and notes written in the margins that are dear to my heart and  remind me exactly of my life at those times.

Not even my sewing machine compares to these two Birthday gifts, and if you've heard me talk about my new sewing machine...that's saying a lot.

with love,
Ab

Saturday, February 18, 2012

M is for...


I find myself so busy, busy these days so when I have a chance to sit down and do a quick craft my heart sings with joy. This beautiful creation only took me about 5 minutes!!! It was awesome and I am so happy with the outcome. Recently I have become disgusted with the ugly "hand made" wreaths that hang up in Michaels. I honestly don't understand how they can charge $40+ for some of their creations. 

I made this beauty for $14.48

Wreath- $4.99
"M"- 1.49
Flowers- $8
Paint- leftover from a previous project


It's very simple.
Step 1:
Weave the flowers through the branches of the wreath. Mine had metal wire inside the stems so they were easy to secure and I'm confident they aren't going to fall out ((otherwise I would hotglue them into place)). 

Step 2: 
Then paint your letter, or house numbers. I went back and forth over which ones I wanted to use but I could not find wooden numbers anywhere--so letter is was!

Step 3: 
Once the letter (or numbers) are dry hot glue onto the wreath and

TA-DA!!

Happy crafting

<3 Ab

Monday, January 30, 2012

Lamp tutorial

Over the summer I was at a friends house and she had a pretty cool lamp. It had a hole drilled in the back and had Christmas lights strewn throughout it. My little crafty mind went racing and I thought I HAVE TO HAVE ONE OF THOSE. So ALL summer I was looking for Christmas lights...and go figure NO WHERE sells them in the heat of the summer. Lame. Well anywhoo this fall my mom finally picked some up for me at none other than her favorite store-Goodwill for $0.50.

Materials:
A vase (the more unique the better)
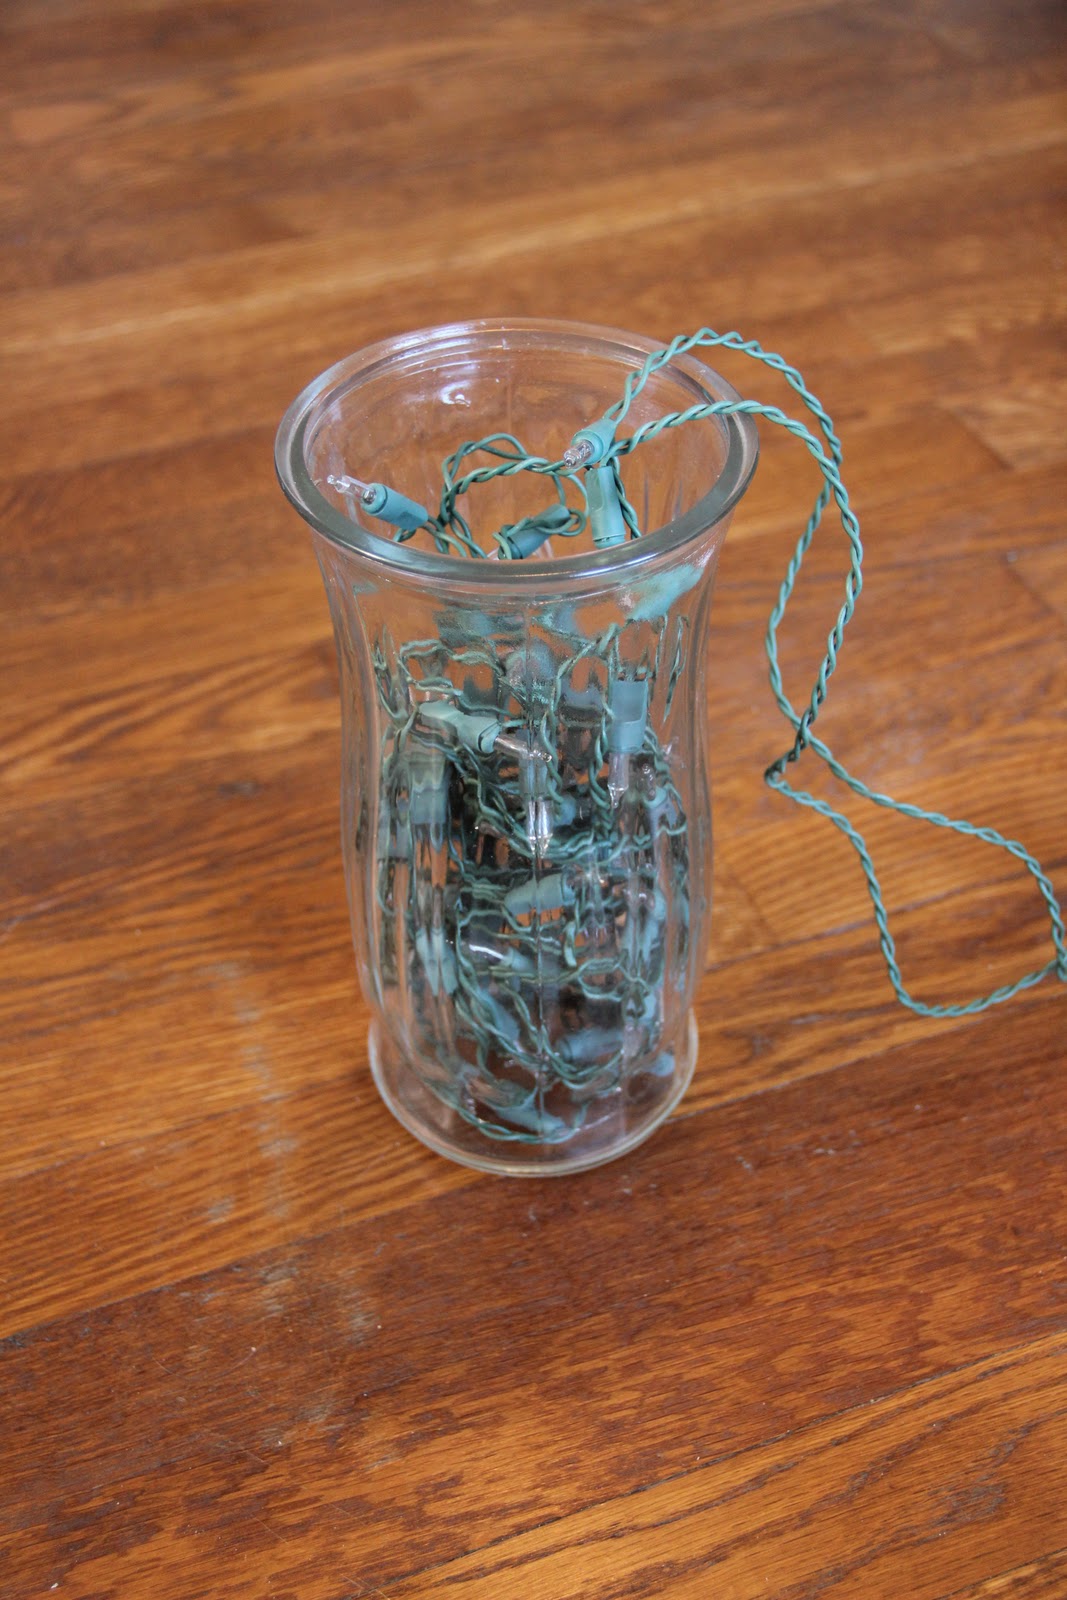
2 Strands of Christmas lights.
A lamp shade (eventually I'll recover this to match my room a little better)


1. Because I didn't have the necessary tools to drill a hole in the vase, the cord just comes out of the top: it works just fine!


2: In order to have the lamp shade sit tall enough I had to place an old CD($0) on top of the vase.
FINAL PRODUCT (until next time ;)


Total cost:
Vase- $0.50
Christmas lights- $0.50
Lamp shade- $1.00

$2.00

Enjoy,
Ab

Sheet Curtains.

Alright, so here it is. My very first Do-it-yourself post!! For my Birthday I got a sewing machine!! Something I have been wanting for years and I was thrilled! Problem was, I have never touched a sewing machine in my life. Well through much research and watching videos of basic sewing knowledge I embarked in my very first project- curtains. Now, let me tell you curtains probably aren't easy peasy in the rank of sewing projects but it wouldn't be Abby like if it wasn't a challenge. 

So here it goes- I found two pairs of twin sheets at Goodwill for $4.50, I was in love with the pattern and colors and figured even if it didn't go as planned I only wasted $4.50.

Materials:
2 flat twin sheets
sewing machine
iron
*How much you need will depend

Step 1: Fold the fitted sheet in half (hot dog style) and cut down center. 
2: Cutting down the center. (Ironing a straight line helps keeps each side pretty even in size)
3: Then I trimmed the bottom. I cut about a 10inches off so that the extra fabric I didn't need wasn't getting in my way.

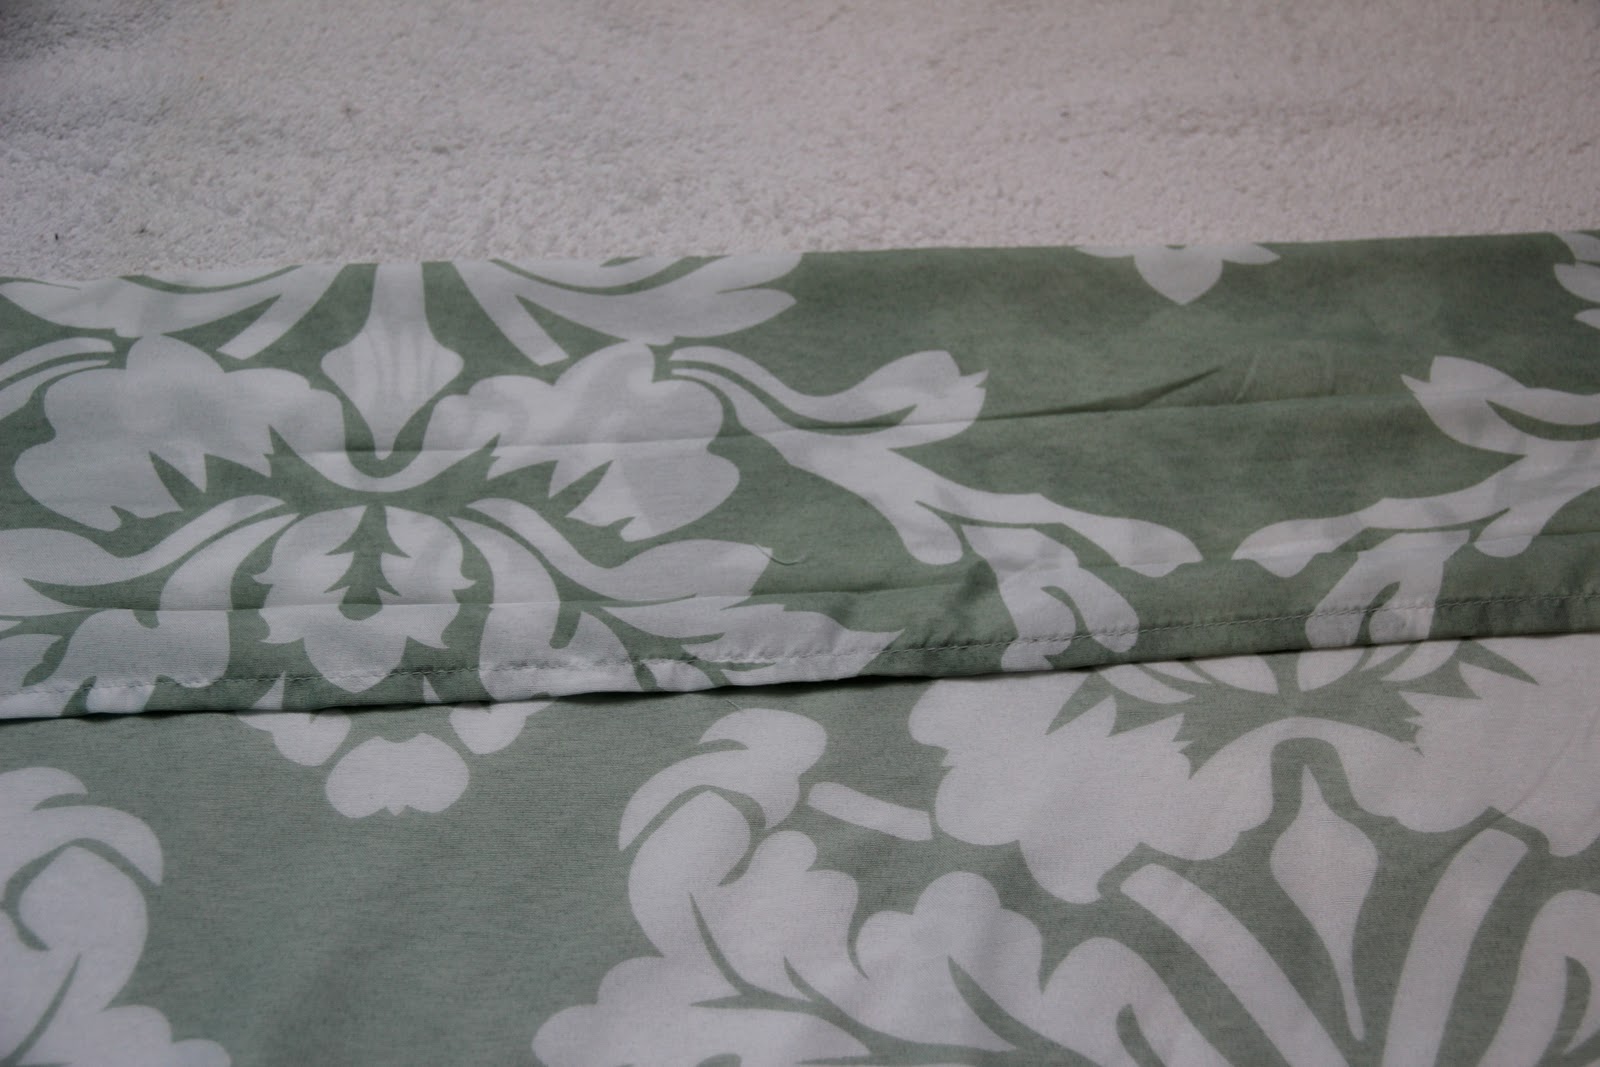
4: Creating clean cut edges. Fold the rough edge about 1cm and iron flat.

5: Next, fold over again to create the clean cut edge. (No fraying fabric pieces flying around) 
6: Sew the clean cut edge. My tension was set on 2 and I used just a basic straight stitch. 

7: I work better when i iron where I want my straight lines to be, rather than pinning. Eventually I'll have to get over this cause I won't be able to do it for all projects but I'll use it until it no longer works :)
8: Where I am going to sew. I left about a 1 1/2 inch border at the top. 

9: Then I hung the curtains on the window that is going to become their new home and pinned where I want them to fall. Cut off the extra fabric and sew a straight stitch across the bottom. 
Final Product!
I think they look great, especially for my very first sewing attempt! :)


Ab