
Alright, so here it is. My very first Do-it-yourself post!! For my Birthday I got a sewing machine!! Something I have been wanting for years and I was thrilled! Problem was, I have never touched a sewing machine in my life. Well through much research and watching videos of basic sewing knowledge I embarked in my very first project- curtains. Now, let me tell you curtains probably aren't easy peasy in the rank of sewing projects but it wouldn't be Abby like if it wasn't a challenge.
So here it goes- I found two pairs of twin sheets at Goodwill for $4.50, I was in love with the pattern and colors and figured even if it didn't go as planned I only wasted $4.50.
Materials:
2 flat twin sheets
sewing machine
iron
*How much you need will depend

Step 1: Fold the fitted sheet in half (hot dog style) and cut down center.

2: Cutting down the center. (Ironing a straight line helps keeps each side pretty even in size)


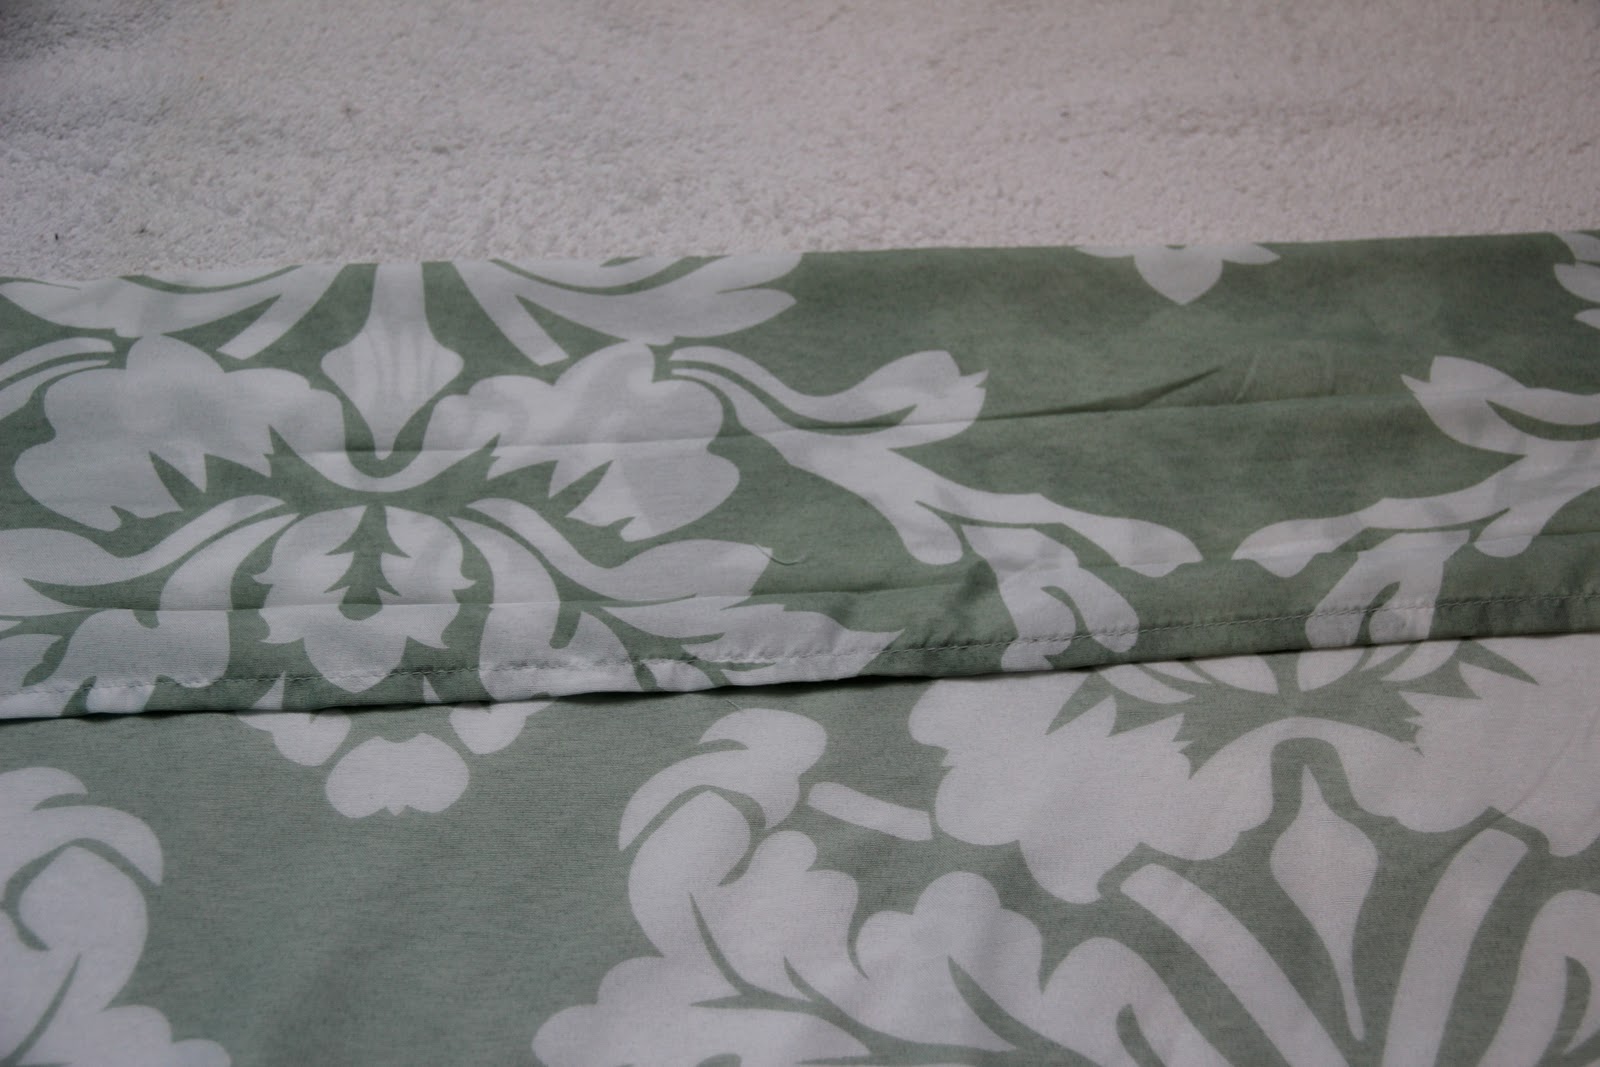
4: Creating clean cut edges. Fold the rough edge about 1cm and iron flat.

5: Next, fold over again to create the clean cut edge. (No fraying fabric pieces flying around)

6: Sew the clean cut edge. My tension was set on 2 and I used just a basic straight stitch.

7: I work better when i iron where I want my straight lines to be, rather than pinning. Eventually I'll have to get over this cause I won't be able to do it for all projects but I'll use it until it no longer works :)
8: Where I am going to sew. I left about a 1 1/2 inch border at the top.

9: Then I hung the curtains on the window that is going to become their new home and pinned where I want them to fall. Cut off the extra fabric and sew a straight stitch across the bottom.

Final Product!

I think they look great, especially for my very first sewing attempt! :)
Ab
No comments:
Post a Comment